Sonya brought me her son’s old “Buck” BB gun.
It had been non-working, out of commission, for years, and she wanted to do something with it for her son’s birthday. He’s grown and out of the home, so she had some kind of decor in mind, but she wasn’t sure what she could do with it that he would actually like and want to keep in his home and actually use.
Here’s the BB gun she brought me: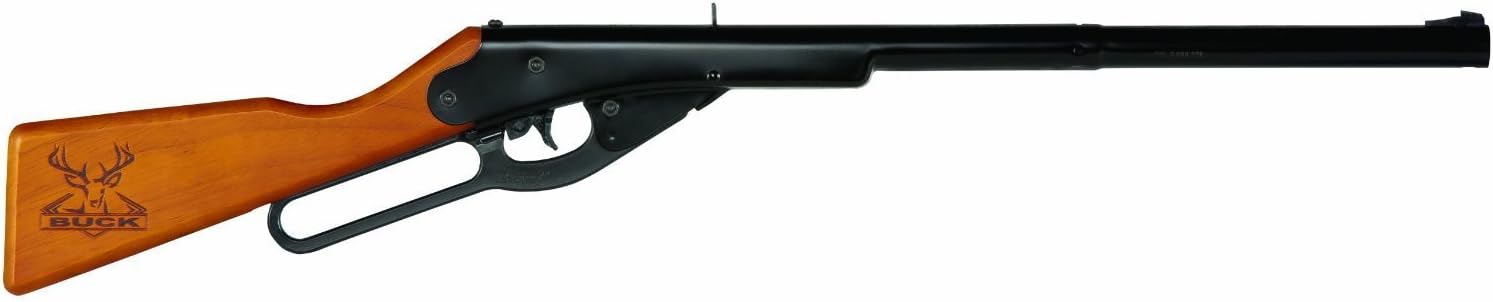
We looked at it and discussed several options. I wanted to go for function, like a wall rack, but just mounting it on a board with hooks underneath just seemed boring.
I’m always drawn to the alphabet, so I asked what their last name is Young. AHA! I got it. I said I could cut it in half and make a letter Y. She asked how I would do that and I said I would have to disassemble the gun, separating the barrel from the stock, then I would use my plasma cutter to cut the barrel and action in half, then run the stock through my table saw, cutting it in half.
So that’s what I did! First, I removed 10 inches off the end of the barrel. Then I went about cutting the rest of the barrel in half lengthwise. The sights join the gun from top to bottom, so it was challenging to cut all the way through. There were also a couple of rivets that ran all the way through that had to be cut. Once I got it cut in half lengthwise, I peeled it apart and the spring loading mechanism inside fell out.
Here’s what a bb gun looks like when you cut it in half!

Then it was time to cut the stock in half…

I lined the stock up next to the fence on the table saw, and aligned that hole in the center (pilot hole for attaching the barrel to the stock) with the blade as best I could. There wasn’t much meat on the bone to work with, so to speak…the piece of wood was only 3/4″ thick, so how was I supposed to hold onto it while cutting it in half?

I had to build a sort of jig to run the thin stock through the table saw. So I scavenged some scrap lumber to tuck the stock in safe and sound. Then I put a piece of scrap wood behind it to push it through.

I ended up adding another piece of wood on top to keep the stock from migrating upward, as I could tell it was wont to do as it went further into the cut.

I was ultimately successful in slicing the stock in two. No mistakes and no injuries! Here’s the thing cut in two and laid out on a silo door I had in my homestead stash.

While I’m normally fine with the “natural” look, I wasn’t happy with how this looked straight off the press. The woods were too close to the same color, and there was no “pop”. I had only sanded the silo door. It could use a coat of the right stain. Also, the heat from the plasma cutter melted the black finish off the outside of the little bb rifle barrel, so it needed a soft sanding with steel wool and a couple coats of matte black spray paint.

It also needed a few railroad nails to hang things on, ya know, to make this fabulous creation FUNKTIONAL!

Sonya is really happy with how it turned out, and so am I! I’m anxious to find out if her son likes it too. She should be giving it to him anytime now.
What do you think? Drop me a comment here on the blog. I’d love to hear from you!